

Work with tickets
You found your way into an existing ticket, congratulations! Now let's have a look what you can do and how to do it.
Generally, working on existing tickets means keeping up with a customer correspondence in a thread/conversation in the ticket detail view. Any time you open a ticket, a new tab will appear in your taskbar. To close a tab (in the sense of remove it from the taskbar, not setting the ticket state to closed), just click the button in the tab. Zammad automatically saves your changes in opened ticket tabs, no matter if you already applied the changes or just edited things and switched to somewhere else. This means it is no problem to create a new ticket while editing an existing one. Simply switch back to the other tab.
For the most changes (except tags or title renaming, for example), an explicit update of the ticket is needed. So make sure to click the Update button on the right side of the footer bar when you are happy with your changes.
Changing ticket attributes
As you may know, there are additional ticket attributes such as group, priority and owner that you can set. If you haven't read ticket-basics yet, check it out to learn more.
Create a new article
No matter if you create a new article from scratch or respond to a customer article, you can choose from different article types:
- Note: Write a reminder for yourself and other agents, ask a colleague a question by mentioning a user or add new information to the ticket. The default visibility is "internal", which means the customer can't see the note.
- Call: Note down a summary of a phone call you had with the customer.
- Email: Send an email to anyone about the ticket. The title of the ticket is used for the subject of the email.
To choose another article type, use the channel tabs (labeled Note, Phone, Email etc.) and pick a different type. Use the Visibility switch to toggle the article between internal and public visibility. Articles with internal visibility are highlighted with a dashed blue border; public articles have no highlighting.
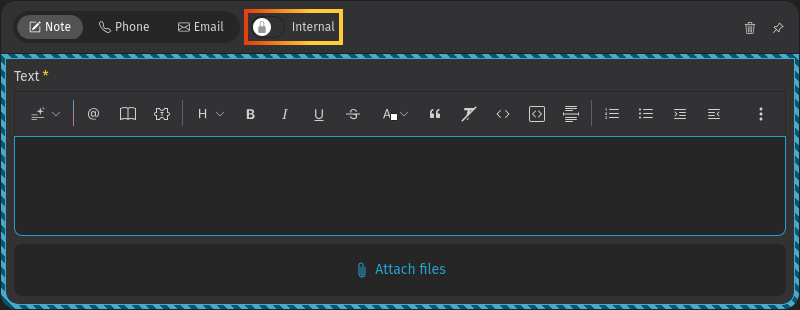
To write and edit text, make use of the powerful editor features. You can use the toolbar or keyboard shortcuts to format text and trigger special functions. Because of the amount of features and their importance, you can find more information on the separate editor page.
Every new article appears at the end of the conversation, which means below the existing articles. To see detailed information of an article, just click on an existing article which opens additional meta information.
You might wonder now how to delete articles. The answer is you can only delete articles that you have created yourself and which are not older than 10 minutes. To see the Delete article function in the menu, articles of a communication type (emails, calls) must be changed to "internal" visibility first.
Add an article from scratch
Below the last article, click the Add internal note button (or Add reply if you are a customer). This opens the editor with the appropriate channel and visibility selected. You can change the type or visibility if you like. To answer the customer directly or to forward a specific article, use the corresponding buttons under an article. Read the next section for more information.

Respond to an article
To forward or reply to an article, use one of the response buttons under an article or in the menu. The behavior is similar to the behavior of an email client.
- Reply: Allows you to answer the article. The recipient is automatically pre-filled. The reply is sent via the same channel as the original message. This lets you easily send an answer to a customer or third party, if involved.
- Reply all: Same as above but uses all recipient addresses from the original message as recipients for your new article. Only available for email channels.
- Forward: This means you can forward the original message to a third party or anybody else. The original message and attachments are included in your new article.
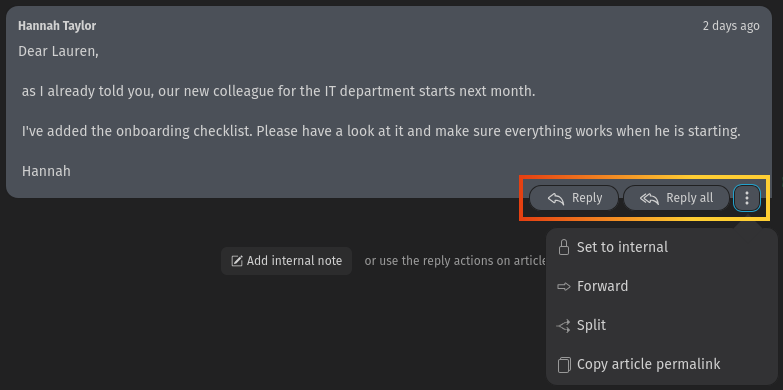
Zammad even allows you to quote text from an existing article. This is especially helpful if an answer refers to different parts of the original message or the text is pretty long. This feature is limited to communication type articles like email where the response buttons are available. To quote text, simply select the text you want to quote and use the Reply or Reply all function. This adds the selected text with a timestamp in your article editor where you can answer it. You can use the quoting even multiple times to quote different parts of the text. Just select another part of the text, click on the same response action as before and it gets added as another quote to your editor. You can split quotations by using enter or shift + enter in the editor and disable quote format for your text.
If the ticket has a long article history, see Handling of Large Tickets for the conveniences Zammad provides.
Handling of large tickets
When working on tickets with long article histories - like long email threads where you need to refer back to earlier messages - Zammad provides two conveniences:
- A floating ticket actions toolbar on the bottom right corner of the article list shows quick actions, depending on your scroll position and the ticket state. It contains buttons with icons for the following actions:
- Add internal note (or Add reply if you are a customer): opens the article reply form to write a note.
- Scroll to start and Scroll to end: jump to the top or bottom of the article list. If there are unread articles, the Scroll to end button displays a badge and changes to Scroll to unread article.
- The toolbar appears whenever the article list is taller than your screen so that crucial actions stay accessible.
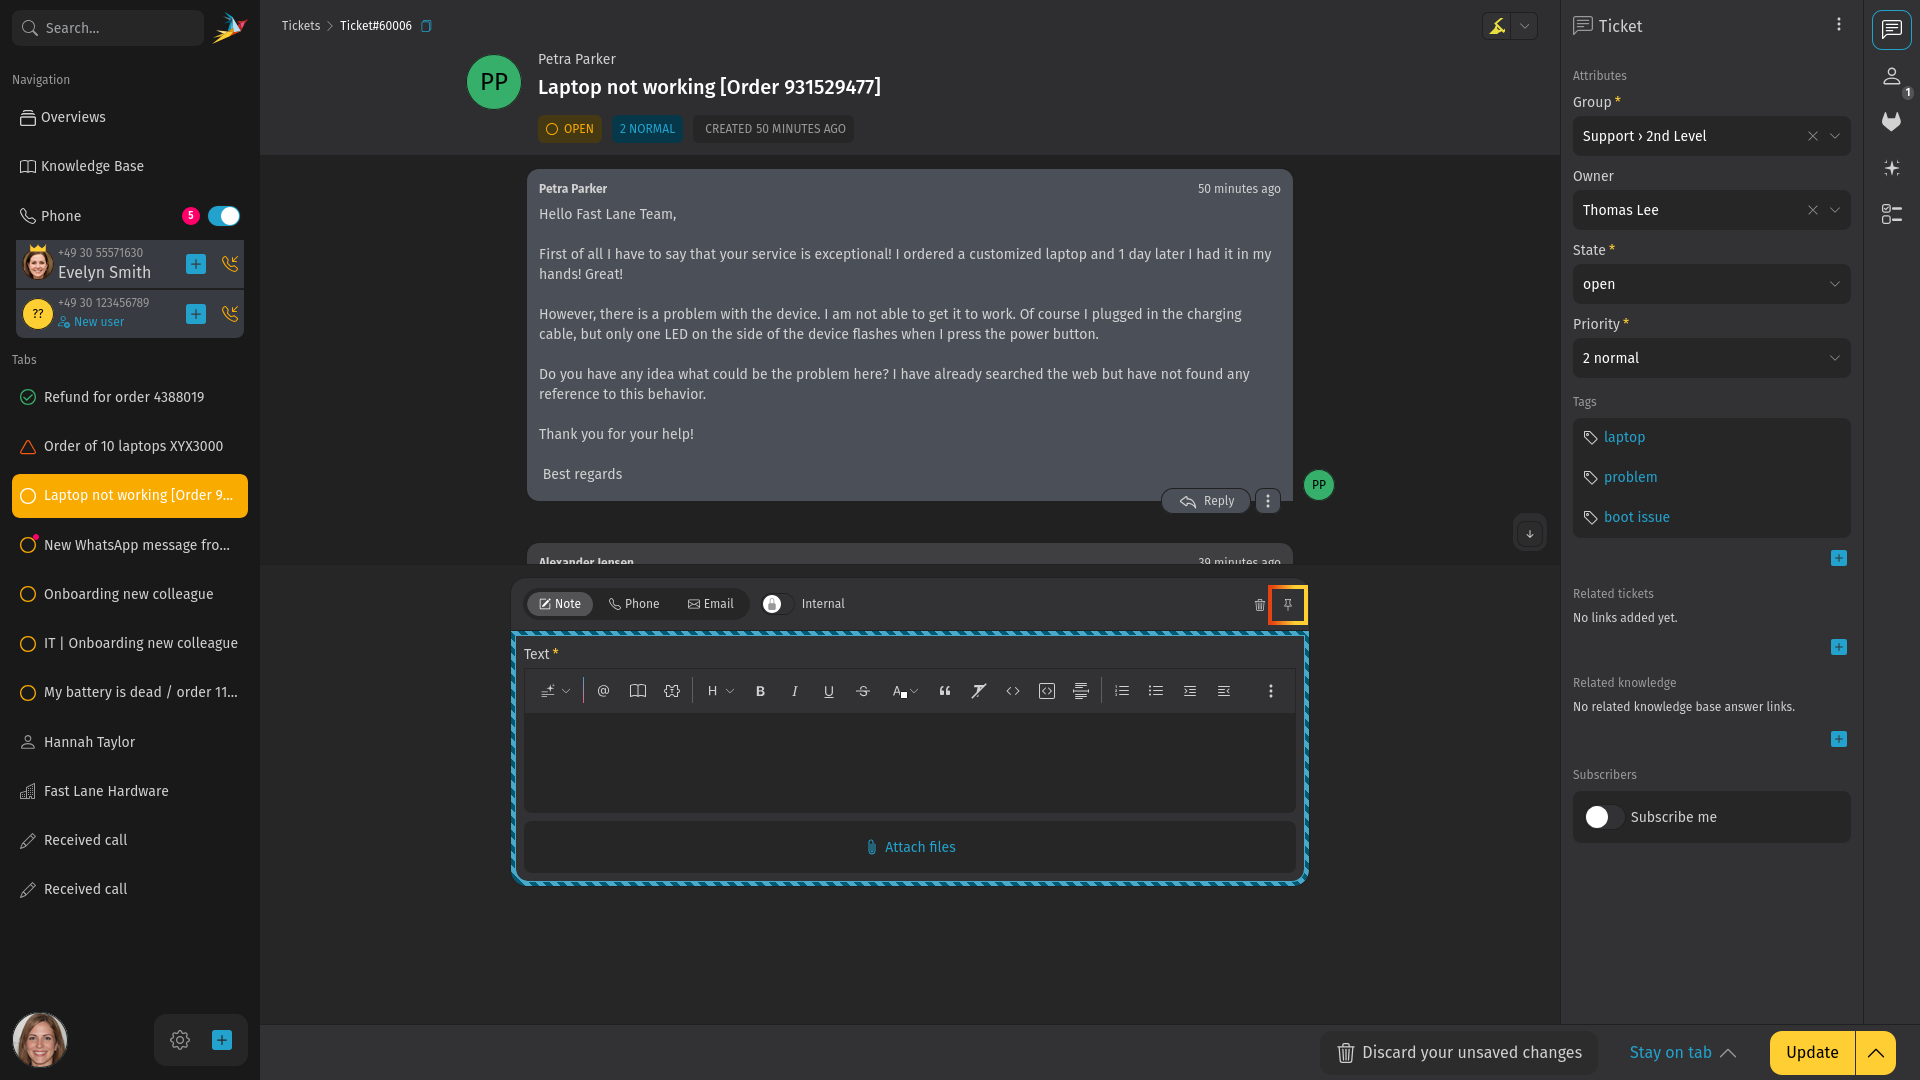
- A pinned reply form so the editor stays visible while you scroll through the articles. To pin or unpin the reply form, click the pin icon in the header of the article reply form. The pinned form sticks to the bottom of the ticket detail view. Resize the height by dragging the line on the top edge of the pinned reply form. The pin state and the panel size are saved in your browser.
Rename a ticket
To rename a ticket, simply click on the title in the header bar and start typing. This title is used as subject in email communication and shows up in several places like overviews. Confirm with enter or click the button on the right side.
Copy ticket number
To copy the ticket number including a link to the ticket (e.g. to paste it in a third party chat app), use the  icon next to the ticket title. It copies the complete ticket number with the ticket identifier to your clipboard, e.g.
 Ticket#50071. If pasting the content to a target which can handle HTML, a link to the ticket is included. If you just want to paste the ticket number, use plain pasting via ctrl shift v instead.
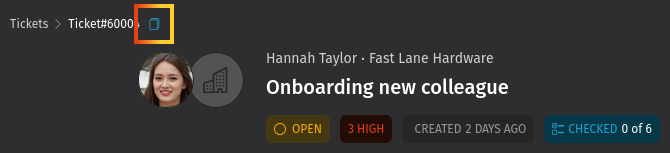
But wait, there is even a keyboard shortcut for that! Simply press . in the ticket detail view and the ticket number is copied to your clipboard. To include the ticket title as well, press . twice. Example: Ticket#31004: Onboarding new colleague.
Simultaneous ticket processing
It can happen that two or more agents open a ticket at the same time. To prevent edit conflicts and customers receiving contradictory answers, Zammad shows you who is viewing or editing the ticket currently. You can find this information in the bottom bar where avatars of all agents are displayed.
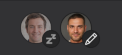
Make sure to communicate with your colleagues to prevent these problems before they arise. Depending on the additional icon and if the avatar icon is faded, it means:
- Avatar: Another agent is viewing the ticket.
- Faded avatar: Another agent opened the ticket but is currently not actively viewing it.
- Avatar with pencil icon: Another agent is currently actively working on this ticket.
There are even more icons which represent additional states of the other agents (e.g. viewing ticket by mobile UI or is out-of-office). Just hover with the mouse if you are unsure what it means.
Ticket actions
Additional actions are available in the menu in the ticket sidebar.
- History
- See a comprehensive list of updates to the ticket, performed by any user, since its creation. Useful to check who did what and when.
- Merge
- Migrate all messages/notes to another ticket. Useful if you have more than one ticket about a single customer issue. See Merge Tickets for details.
- Change customer
- Reassign the ticket to another customer.
You now know the basics and how to work with tickets in general. However, there are many more features in Zammad which can be very useful in your daily work. Read on in Advanced Features to learn more.